- Umair Assad
- 2026/01/07
- 0 Comments
- 0 Likes
Have you ever had a customer ask for a burger "no onions, extra pickles," only to have the kitchen send out the exact opposite? Or perhaps your staff struggles to ring up a half-pepperoni, half-cheese pizza correctly during the dinner rush. These small friction points add up. They lead to food waste, frustrated staff, and unhappy customers.
The solution isn't just better training, it's better menu configuration.
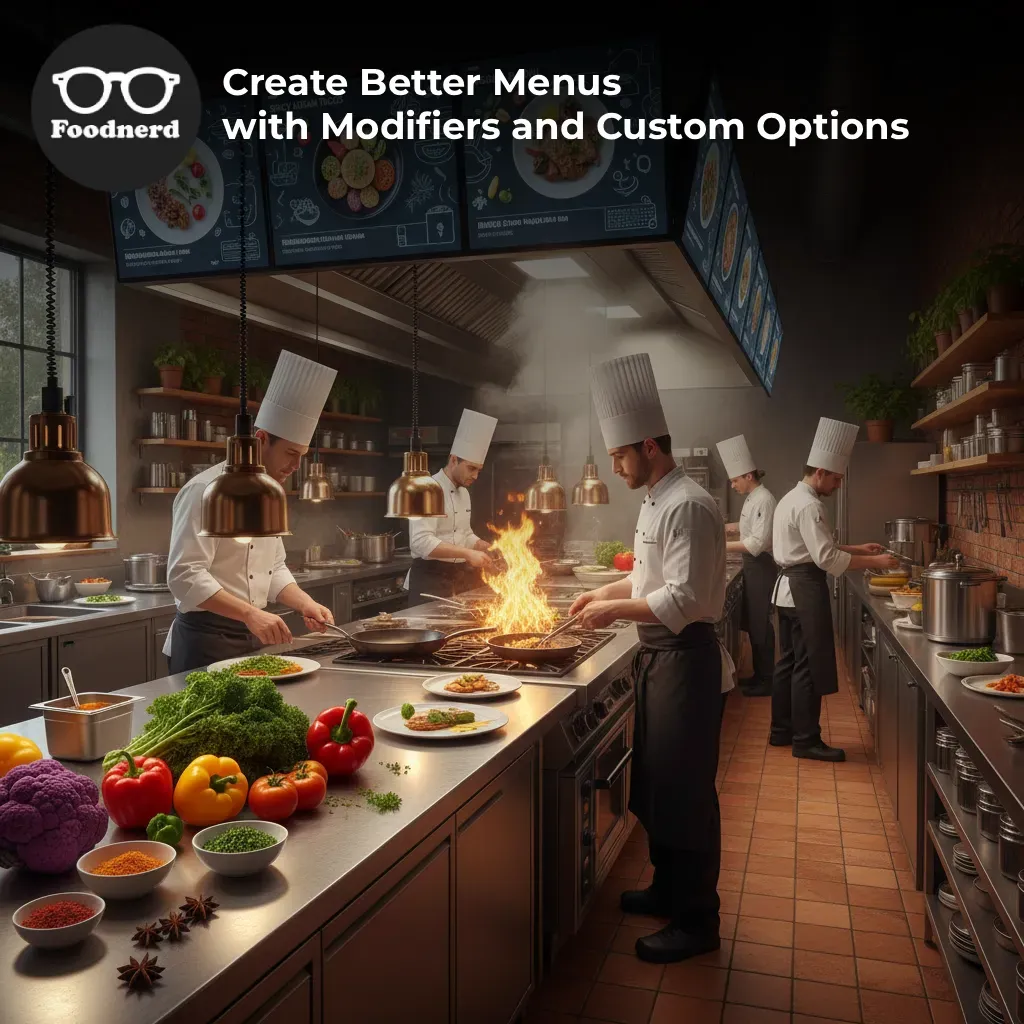
In the restaurant business, customization is king. Customers expect to tailor their meals to their exact tastes and dietary needs. For a manager, the challenge lies in translating those complex requests into a streamlined digital workflow. This is where mastering Customizers and Modifiers in your Foodnerd POS system becomes essential.
This guide will break down exactly how to document, configure, and manage these tools to ensure every order is accurate, inventory is tracked, and revenue is maximized.
The Difference Between Customizers and Modifiers
Before configuring your menu, it is critical to understand the distinction between a customizer and a modifier. While both allow for changes to an order, they function differently within the POS architecture.
Modifiers (Options)
Think of Modifiers as the "How." They dictate the fundamental properties of a dish. These are usually choices that a customer must make for the item to be prepared. Modifiers are created at the Menu - - -- Level, meaning they can be reused across different items.
- - Examples: Size (Small, Medium, Large), Cooking Temperature (Rare, Medium), or Side Selection (Fries vs. Salad).
- - Key Feature: They often dictate the base price variation or mandatory choices.
Customizers (Ingredient Lists)
Think of Customizers as the "What." They represent the ingredients or components that go into the dish. These are typically created at the Menu Item Level and focus on personalization.
- - Examples: Toppings (Pepperoni, Extra Cheese), Removals (No Onion), or Adjustments (Extra Sauce).
- - Key Feature: They use "Ingredient Lists" with minimum and maximum constraints to control how many add-ons a customer can select.
How to Create and Manage Modifiers
Modifiers are powerful because they save you time. Instead of creating a "Small Burger" and a "Large Burger" as separate items, you create one "Burger" and attach a "Size" modifier.
Step 1: Create the Option
- 1. Navigate to your Manager Dashboard and select Menu Management.
- 2. Choose your Menu and click Add Option.
- 3. Name your option clearly (e.g., "Steak Temperature").
- 4. Set the Status to Active.
Step 2: Define Option Values
Once the option exists, you need to define the choices available within it.
- 1. Click Add Option Value.
- 2. Enter the Name (e.g., "Rare," "Medium," "Well-Done").
- 3. Set the Position to determine the order in which they appear on the screen.
Step 3: Attach to Menu Items
This is where the magic happens. You must link your new option to the specific items it applies to.
- 1. Edit a Menu Item (e.g., "Ribeye Steak").
- 2. Scroll to Component Option Values.
- 3. Select your Option.
- 4. Set Pricing: If a specific value costs more (like a "Large" size), enter the additional price here.
- 5. Set Availability: You can mark specific values as "Sold Out" if you run out of stock.
How to Configure Customizers
Customizers allow for granular control over ingredients. This is vital for inventory management and accurate pricing for premium add-ons.
Step 1: Create an Ingredient List
1. Navigate to Menu Management and edit a specific Menu Item.
2. Under Ingredient Lists, click Add Ingredient List.
3. Title the list (e.g., "Pizza Toppings").
4. Set Min/Max Limits:
- - Min 0: Optional selection.
- - Min 1: Mandatory selection (the customer must pick at least one).
- - Max: Limits how many they can choose (e.g., "Pick up to 3 sides").
Step 2: Add Ingredients
Inside your list, add the specific items.
- 1 .Name: (e.g., "Avocado").
- 2. Customizable: Check this box to make it optional.
- 3. Delta Price: Add the extra cost here (e.g., $2.00). This automatically adds to the bill when selected.
- 4. Included: If the item comes with cheese by default, set "Included" to 1. This helps track inventory even if the customer doesn't pay extra.
Real-World Configuration Strategies
To visualize how this works, let’s look at three common scenarios you will likely encounter in your restaurant.
Scenario A: The "Build Your Own" Pizza
- Goal: Allow customers to pick toppings, charging extra for premium items.
- - Configuration: Create a Customizer Ingredient List titled "Toppings."
- - Limits: Min 0, Max Unlimited.
- - Pricing: Set standard veggies at $1.00 Delta Price and premium meats at $2.00 Delta Price.
- - Result: The system automatically calculates the total based on how many toppings the customer adds.
Scenario B: The Combo Meal
- Goal: A customer picks a burger, a mandatory side, and a drink.
- - Configuration: Use Modifiers. Create a "Side Choice" option and a "Drink Choice" option.
- - Limits: Attach both options to the Burger Combo item.
- - Pricing: If the customer upgrades to "Sweet Potato Fries," set that specific Option Value to have a +$1.50 price.
Scenario C: Dietary Restrictions
- Goal: Ensure the kitchen knows about allergies.
- - Configuration: Create a Modifier named "Dietary Preference."
- - Values: Gluten-Free, Dairy-Free, Nut Allergy.
- - Result: This prints clearly on the kitchen ticket, ensuring safety and accuracy without the server needing to type manual notes.
Best Practices for Documentation and Management
Managing menu data is an ongoing process. As your menu evolves, so should your configuration. Here are four rules to follow for operational success.
1. Consistent Naming Conventions
Use names that are clear to both customers and staff. Avoid kitchen shorthand like "Sub-Chx" on the customer-facing display. Instead, use "Substitute Chicken." Clear labels reduce ordering errors and questions.
2. Strategic Pricing
Use Delta Pricing within Customizers to protect your margins. If avocado costs you $1.00 per serving, ensure the Delta Price reflects that cost plus your markup. Review these prices quarterly as supplier costs change.
3. Availability Tracking
Nothing disappoints a customer more than ordering an item that isn't available. Use the Availability status at the Ingredient Level. If you run out of mushrooms, mark them as "Sold Out" in the system immediately. This prevents servers from selling items you cannot make.
4. Grouping for Speed
Organize your Modifiers and Customizers logically. Put the most required choices (like Size or Temp) first. Put optional "add-ons" last. This speeds up the order entry process for your staff during busy shifts.
Why This Matters for Your Bottom Line
Properly documenting and managing customizers is about more than just a tidy POS screen. It directly impacts your profitability. When you configure modifiers correctly, you ensure every extra shot of espresso, every side of ranch, and every premium topping is charged for. You eliminate the "silent revenue loss" of uncharged add-ons.
Furthermore, accurate configuration creates a smoother experience for your team. Kitchen staff receive standardized tickets, servers spend less time explaining the menu, and managers get accurate data on what ingredients are actually being used.
By taking the time to set up your Foodnerd POS with these structures, you are building a foundation for a more efficient, profitable, and scalable restaurant operation.
Recent Blogs

Foodpanda Integration for Pakistan: Streamline Orders with Foodnerd POS
Managing online food orders can feel overwhelming when delivery platforms operate separately from your restaurant's main system. Orders come through different channels, inventory tracking becomes m...
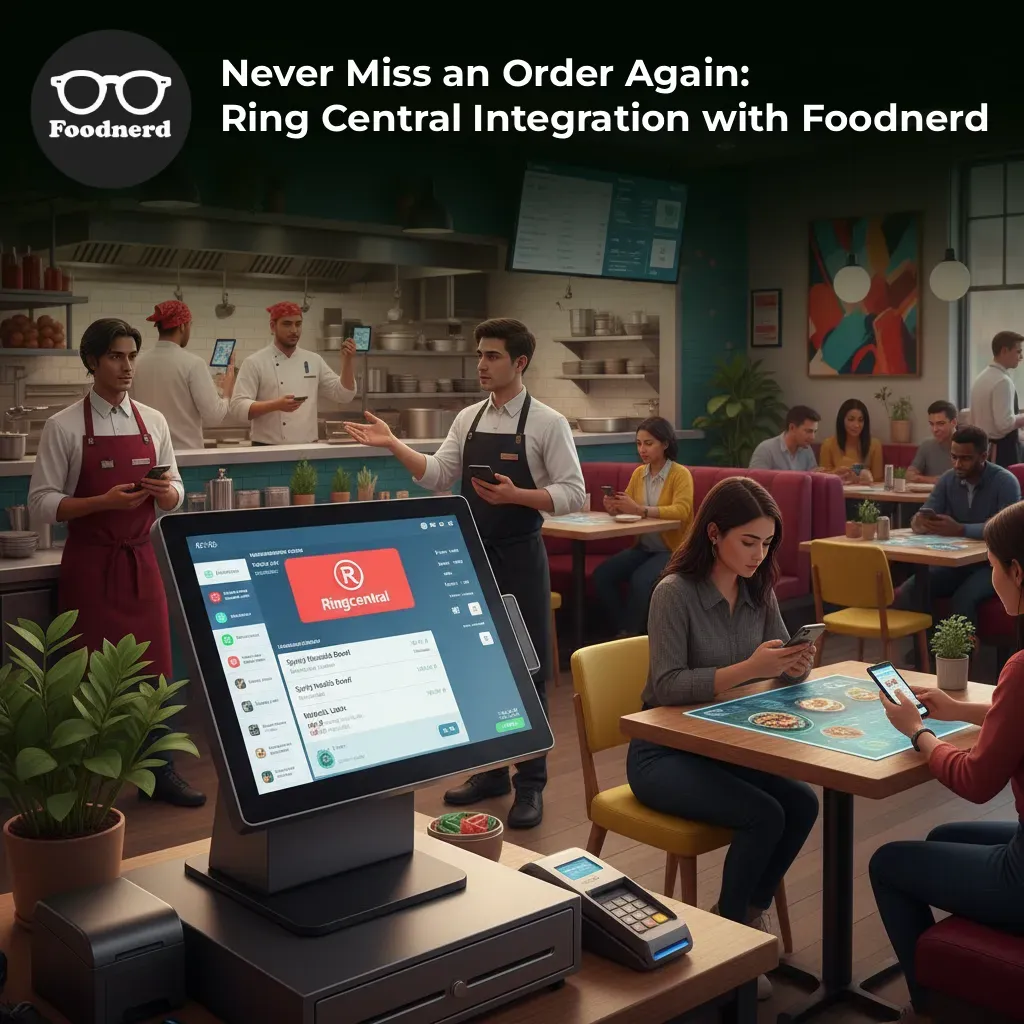
Never Miss an Order Again: Ring Central Integration with Foodnerd
Introduction In the high-pressure environment of a busy restaurant kitchen, every second counts. Your staff is juggling dine-in customers, food preparation, and inventory management. Amidst the cha...
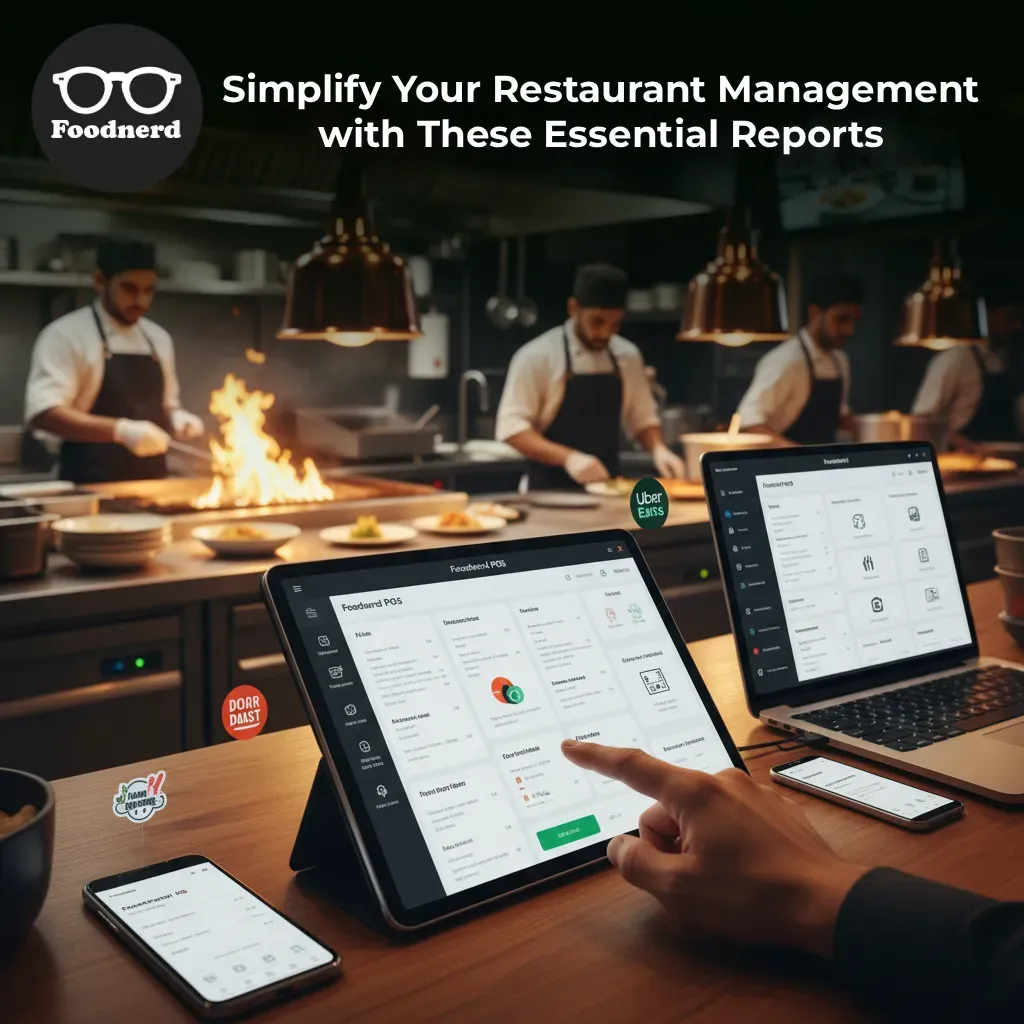
Simplify Your Restaurant Management with These Essential Reports
Running a restaurant often feels like juggling a dozen plates while riding a unicycle. You have inventory to track, staff to manage, and customers to please. Amidst the daily chaos, digging through...

Write a Comment