
- Mr Owner
- 2026/01/23
- 0 Comments
- 0 Likes
Running a restaurant kitchen is a bit like conducting an orchestra. You have dozens of moving parts, timing is everything, and if one section is out of sync, the whole performance suffers. But in a kitchen, a mistake doesn't just sound bad it costs you money.
Have you ever wondered exactly how much that signature burger costs you to make? Or why you seem to run out of cheese every Friday night? The answer lies in how you manage your recipes and ingredients.
With the Foodnerd POS system, you don't need to be a math wizard to keep your inventory in check. We have designed a system that helps you track every gram of flour and every slice of tomato, ensuring you minimize waste and maximize profit.
This guide will walk you through the basics of Recipe and Ingredient Management. We’ll break it down into simple steps so you can get your kitchen organized and your costs under control.
Understanding the Basics
Before we start clicking buttons, let’s clarify the three main concepts you need to know. Think of these as the building blocks of your kitchen management.
1. Ingredients
These are the raw materials you buy. Think of items like "Fresh Tomatoes," "Mozzarella Cheese," "Flour," or "Chicken Breast." These are the individual items sitting on your shelves or in your fridge.
2. Recipes
A recipe in our system isn't just instructions for the chef; it’s a math equation for the computer. A recipe tells the system exactly how much of each ingredient is used to make a specific menu item. For example, a "Pepperoni Pizza" recipe tells the system to use 200g of dough, 50ml of sauce, and 30g of pepperoni.
3. Stock Items
This is the record of what you actually have in the building. It tracks how much you bought, how much you’ve used (consumed), and how much was thrown away (wasted).
Step 1: Creating Your Ingredients
The first step to organizing your kitchen is listing what you have. Here is how you add ingredients to the system.
Heave over to your Manager Dashboard and find the Menu Management section. From there, look for Ingredients.
- Add a New Ingredient: Click the button to add a new ingredient.
- Name It: Give it a clear name, like "Fresh Tomatoes."
- Choose a Unit: How do you measure it? Grams? Kilograms? Liters? Select the default unit here.
- Save: Click save, and you’re done!
If you ever need to change a name or fix a typo, just select the ingredient from the list and edit it. It is that simple.
Step 2: Setting Up Your Recipes
Now comes the fun part: telling the system how your food is made. This connects your menu items to your ingredients so the system can track inventory automatically.
Go to Menu Management, pick a menu item (let's say, a "Cheeseburger"), and look for the Inventory or Recipe section.
Add Ingredients: Search for the ingredients that go into the burger. You’ll add "Beef Patty," "Burger Bun," and "Cheese."
Set the Quantity: This is crucial. Tell the system exactly how much is used.
- Beef Patty: 1 piece
- Burger Bun: 1 piece
- Cheese: 30 grams
Handle Customizations: Does your customer want extra cheese? You can set ingredients as "Customizable." You can even set a Delta Price, which automatically adds a cost (like $0.50) if the customer asks for extra.
Once this is set up, every time a cashier sells a Cheeseburger, the system automatically subtracts 1 bun, 1 patty, and 30g of cheese from your inventory. You don't have to lift a finger.
Step 3: Organizing Your Stock Locations
Your restaurant probably has different places where food is stored, like the main kitchen, a walk-in freezer, or a dry pantry. Foodnerd allows you to create Stock Locations to match your physical layout.
- Go to Stock Locations in your dashboard.
- Create a Location: Name it something obvious, like "Main Kitchen" or "Back Freezer."
- Add Stock: Now, you tell the system what ingredients are living in that location. You enter how much you bought and what it cost you.
This helps you stay organized. If you run a large operation, you can even transfer stock between locations like moving chicken from the freezer to the main kitchen for prep.
Step 4: Tracking Costs and Profitability
This is where Foodnerd becomes your financial best friend. Because you entered the cost of your ingredients when you bought them, the system knows exactly how much your menu items cost to make.
How it works:
Let's say you bought tomatoes at $2.00 per kilogram.
Your salad recipe uses 200 grams of tomatoes.
The system does the math: 0.2kg x $2.00 = $0.40
It adds up the cost of every ingredient in the dish to give you a Total Recipe Cost. If the price of tomatoes goes up next week and you record that new purchase price, the system automatically updates the recipe cost. This lets you see if you are still making a profit on that salad or if you need to adjust your menu price.
Step 5: Handling Units of Measurement
One of the biggest headaches in restaurant management is math. You buy flour by the 20kg sack, but your recipe calls for 500 grams. Do you really want to sit there with a calculator?
Foodnerd handles this for you.
- Stock Unit: How you buy it (e.g., Kilograms).
- Consumed Unit: How you use it (e.g., Grams).
If you tell the system that 1kg = 1000g, it will handle the conversion automatically. You can buy in bulk and cook in pinches without worrying about the inventory numbers messing up.
Step 6: Never Run Out of Stock Again
Nothing is worse than telling a customer, "Sorry, we are out of burgers."
You can set up Low Stock Alerts for your ingredients. You set a "Reserved Quantity"—think of this as your safety net. If your stock drops below this number, the Foodnerd system will send you an alert (via email, SMS, or app notification).
This gives you a heads-up to reorder before you run out completely. If you do hit zero, the system can even automatically mark the menu item as unavailable so your staff doesn't accidentally sell it.
Practical Examples to Get You Started
Sometimes it helps to see it in action. Here are two real-world examples of how to set this up.
The Classic Burger
Menu Item: Classic Burger
Location: Main Kitchen
Recipe:
- Beef Patty: 1 piece (Mandatory)
- Burger Bun: 1 piece (Mandatory)
- Tomato: 2 pieces (Customizable - customer can remove)
- Cheese: 30g (Customizable - extra costs $0.50)
The Pepperoni Pizza (Unit Conversion)
Menu Item: Pepperoni Pizza
Location: Main Kitchen
Recipe:
- Dough: 200g (Note: You buy this in kg, but the system converts it!)
- Sauce: 50ml (Note: You buy this in Liters, system converts it!)
- Pepperoni: 30g
Why You Should Do This Today
Taking the time to document your recipes and ingredients might feel like extra homework, but the payoff is massive.
- Stop Theft and Waste: If the numbers don't add up, you know something is wrong.
- Consistency: Your chefs know exactly how much to use, meaning the food tastes the same every time.
- Protect Your Margins: You will know instantly if an ingredient becomes too expensive to keep on the menu.
- Peace of Mind: Automated alerts mean you stop worrying about running out of food during a rush.
With Foodnerd, you are not just running a POS; you are using a complete management tool to make your restaurant smarter, faster, and more profitable.
Recent Blogs

Kiosk Mode Explained: Transforming Restaurant Order-Taking
Running a restaurant means juggling a dozen things at once. Staff are taking orders, the kitchen is firing tickets, and customers are waiting. When the order-taking process slows down even slightly...

Foodpanda Integration for Pakistan: Streamline Orders with Foodnerd POS
Managing online food orders can feel overwhelming when delivery platforms operate separately from your restaurant's main system. Orders come through different channels, inventory tracking becomes m...
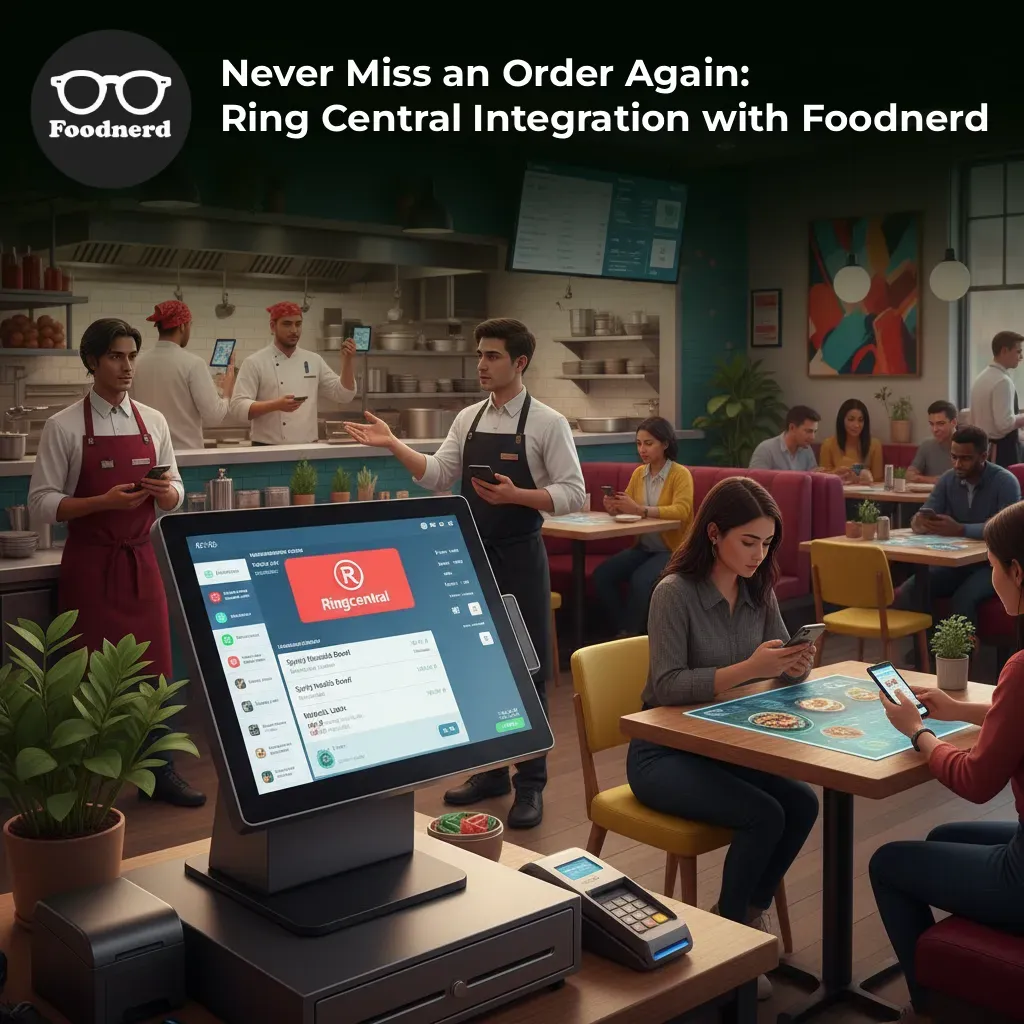
Never Miss an Order Again: Ring Central Integration with Foodnerd
Introduction In the high-pressure environment of a busy restaurant kitchen, every second counts. Your staff is juggling dine-in customers, food preparation, and inventory management. Amidst the cha...

Write a Comment